


Step 1

Materials:
You will need:
*Acrylic paint
*Brushes
*A wooden box
* Varnish
* Pencils (one B and one HB)
* A black Sharpie ( regular one)
* A small ruler
* And finally your geometric pattern. I did mine using InDesign and printing it.
Step 2

Use your HB pencil and turn your pattern. Color the area where the pattern is.
Step 3
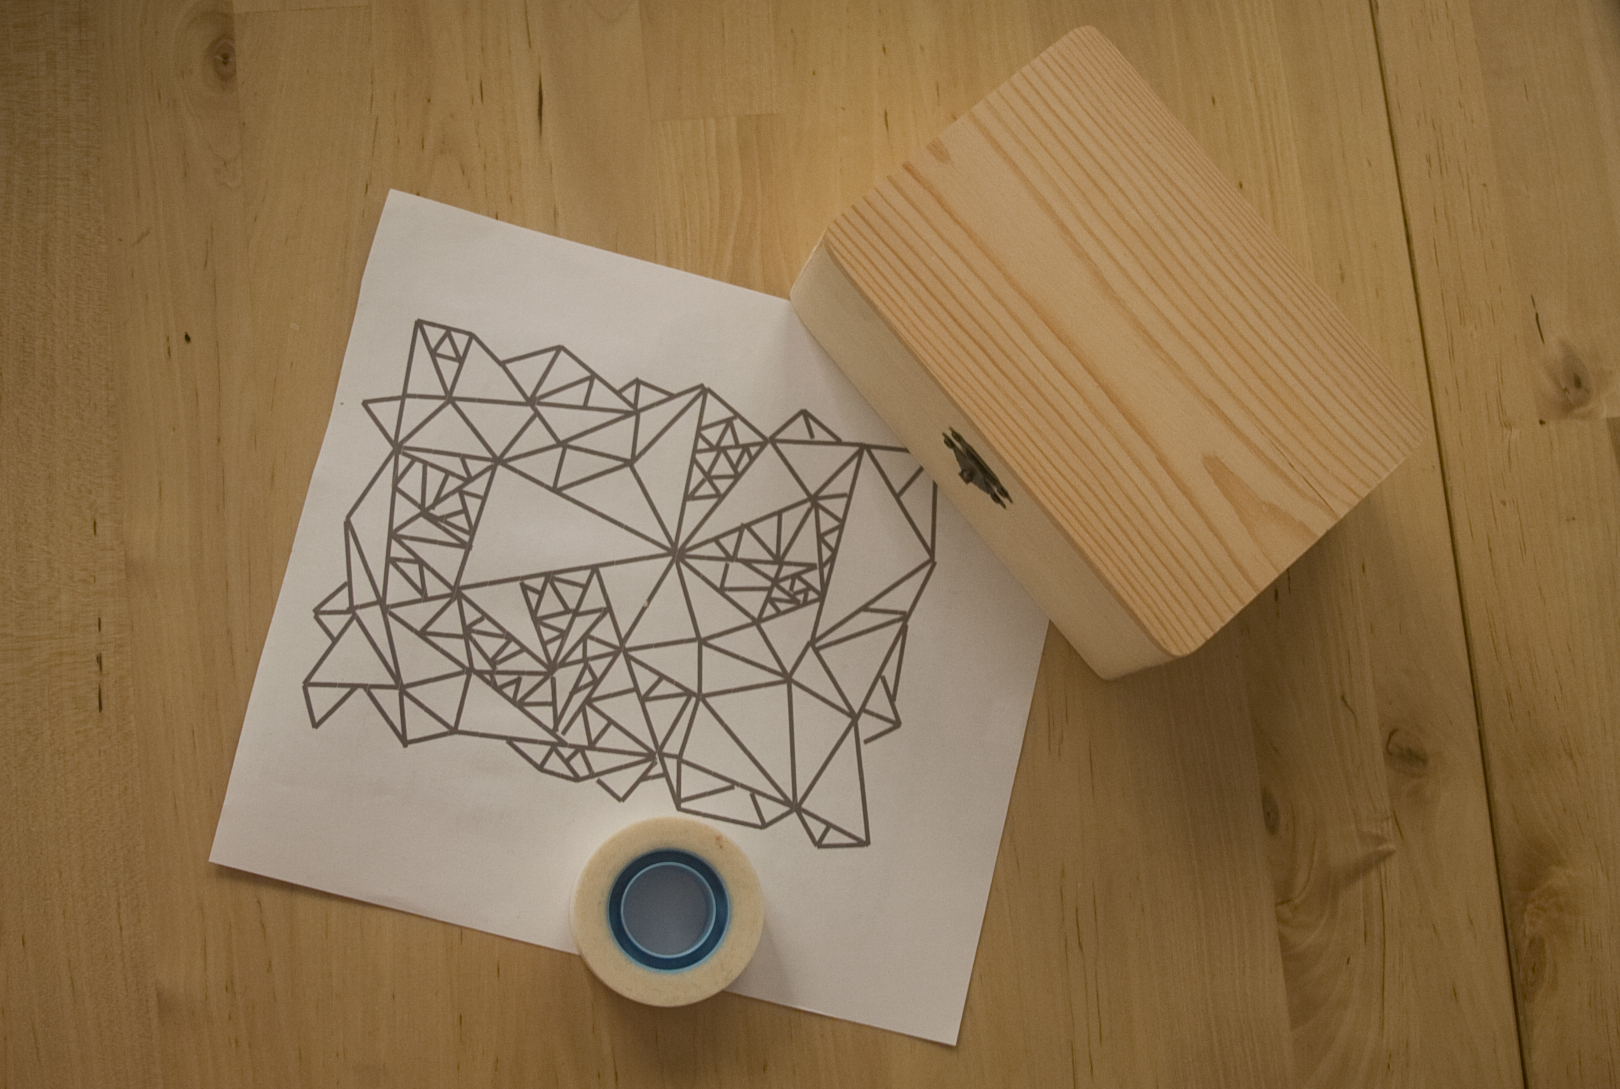
Once you got you stencil ready you’ll need some tape. I like this Scotch one that isn’t too sticky. That way you won’t have glue over you box.
Step 4
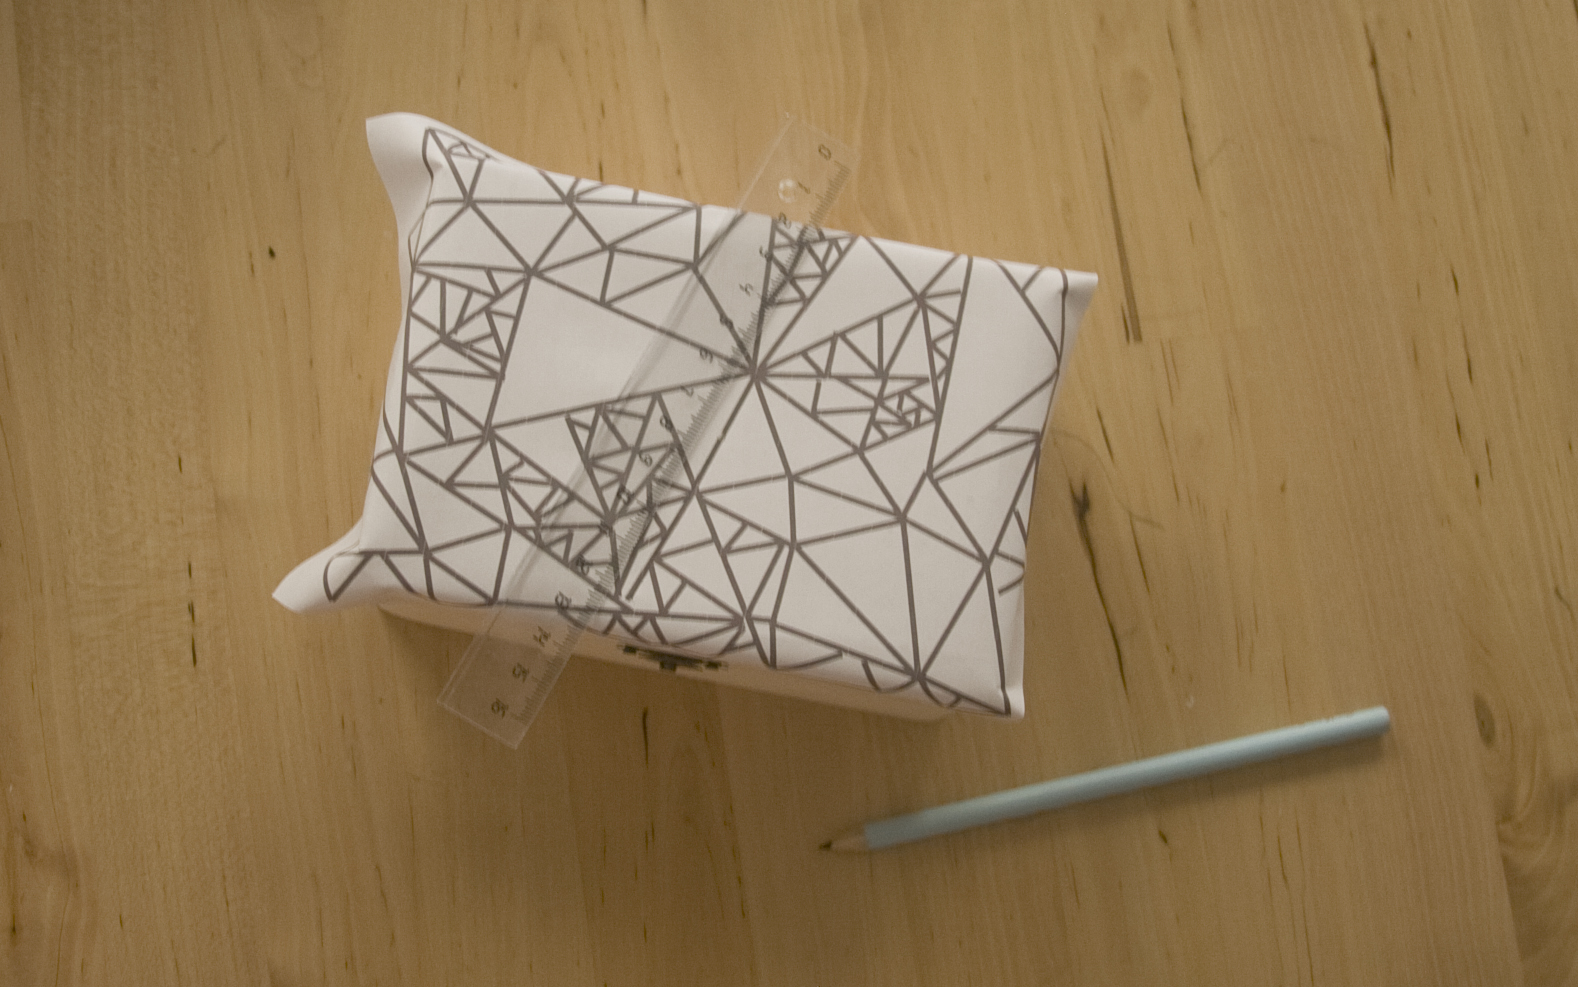
Once you put your stencil and taped it to the wooden box, you’ll need your H pencil and a ruler. Trace the pattern with a nicely sharpened pencil. Remove the stencil when you’re done.
Step 5

Paint the triangles with the colors you’ve chosen. Then when they are all dry use the Sharpie to trace the lines. Finally use some varnish to give it a nice finish. Enjoy your new cute box!!!


Amazing collections! thanks for sharing.
ReplyDeleteDIY Jewellery Box
True DIY Crafts
ReplyDeleteAmazing collections! Thanks for sharing.
ReplyDeleteHow to Make Jewellery Box at Home
Thanks For Sharing This Blog; This Blog Is Very Helpful Information For Everyone.
ReplyDeleteDIY Jewellery Box